
Getting your flights into Sidekik
Not every flight starts with the Sidekik tracker. Maybe you flew with your vario, your flights already live on XContest, or you walked up with your Garmin or Suunto watch. That’s fine: you can bring all of them into Sidekik, so your logbook, statistics and goals stay complete.
This guide shows every way in, and how to fix the details afterwards. If you want to record a flight with Sidekik itself, have a look at Tracking a flight.
1. Open the upload screen
On the Home tab, tap the plus icon in the header. On an iPhone it sits at the top left, on Android at the top right. This opens Upload flight.
Here you’ll find three areas:
- Manual Upload for a single IGC or GPX file.
- Active Connections for the services you’ve already connected (only shown once you have one).
- Setup Connection with the logos of XContest, Garmin Connect and Suunto. Tap a logo to connect that service.
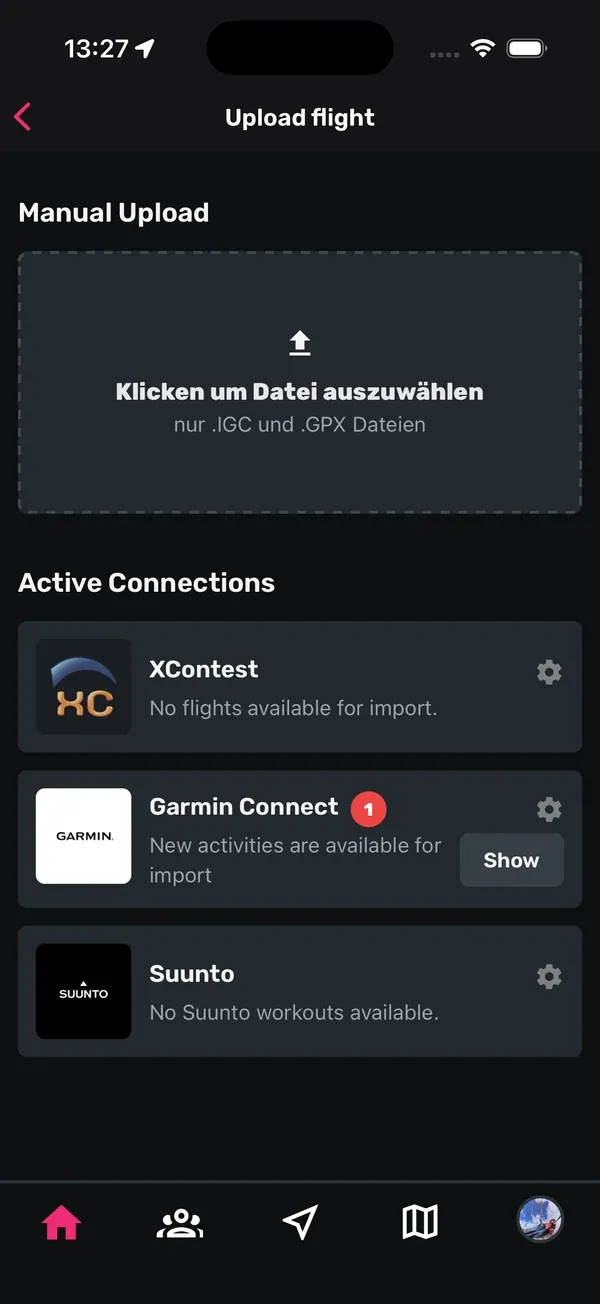
You can also manage all connections in one place: on the You tab, tap the gear icon at the top right (or Settings at the bottom of the page) and open Devices & Connections.
2. Upload an IGC or GPX file
- Under Manual Upload, tap the upload box.
- Pick your file. Only .IGC and .GPX files work.
- Sidekik uploads and processes the flight. Meanwhile you can already fill in the details: Title, a short description, the Flight Type (Flight, XC, Hike&Fly or Hike), your Glider and, if you like, photos under Upload images.
- Tap Save. Your flight opens.
If you’ve uploaded the same file before, Sidekik tells you Flight already exists and opens the existing flight instead of creating a copy.
No signal at the landing? No problem. Sidekik saves the file on your phone and uploads it automatically once you’re back online.
Straight from another app
You don’t have to go through the upload screen. Sidekik is registered for IGC and GPX files on iPhone and Android. Open the file in your vario app, the Files app or an email, use Open in or Share, and choose Sidekik. You need to be logged in. Sidekik uploads the flight right away and opens it, and you can add title and glider afterwards (see step 6).
3. Import from XContest
If you submit your flights to XContest, Sidekik can pick them up for you.
- On the upload screen, tap the XContest logo, or go to Devices & Connections and tap Connect next to XContest.
- Tap Join XContest group. XContest opens in your browser, and you join the Sidekik group there.
- Copy your UUID from XContest and paste it into the XContest UUID field.
- Tap Save at the top right.
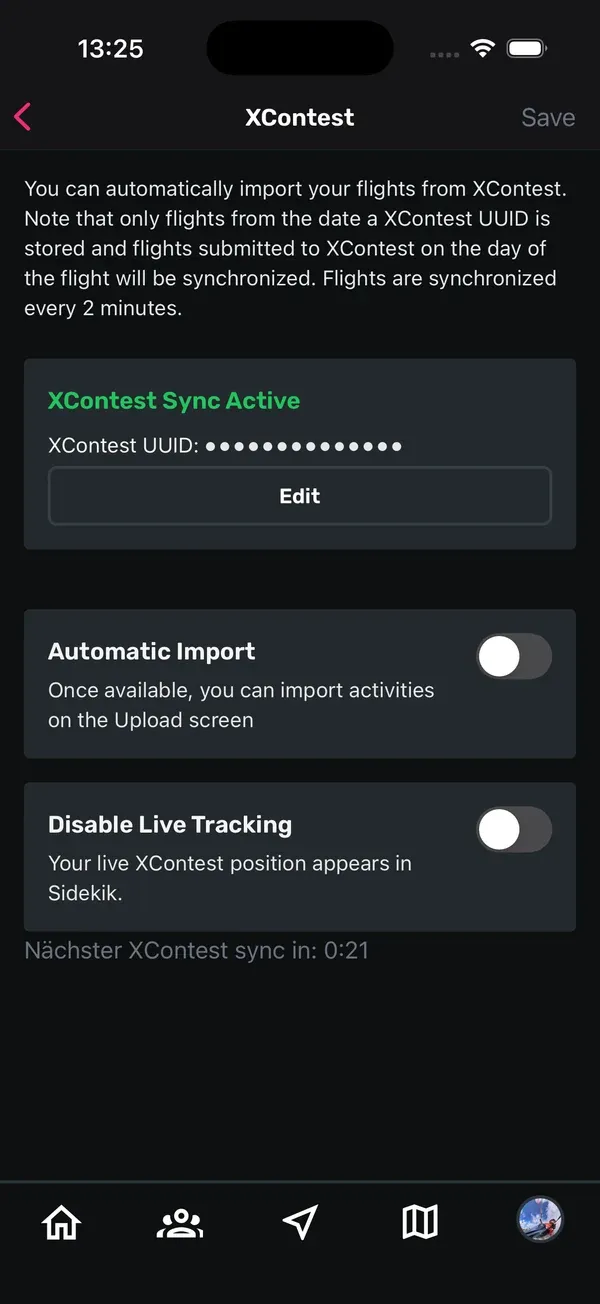
Once it’s set up, you’ll see XContest Sync Active. Two things to know: only flights from the day you saved your UUID onwards are synced, and only flights you submit to XContest on the day you flew them.
Automatic or manual
With Automatic Import switched on, Sidekik checks XContest every 2 minutes. New flights appear in your feed on their own, and at the bottom of the screen you can see when the next sync is due.
If you’d rather decide flight by flight, switch Automatic Import off. New flights then wait on the upload screen. When you see New activities are available for import, tap Show and then the download icon next to each flight you want.
On the same screen you can also switch on Disable Live Tracking if you don’t want your live XContest position to appear in Sidekik.
More background in our blog post Automatic XContest import.
4. Import Hike & Fly from Garmin Connect
- On the upload screen, tap the Garmin logo, or tap Connect next to Garmin Connect in Devices & Connections.
- Tap Connect with Garmin and log in to your Garmin account in the browser that opens.
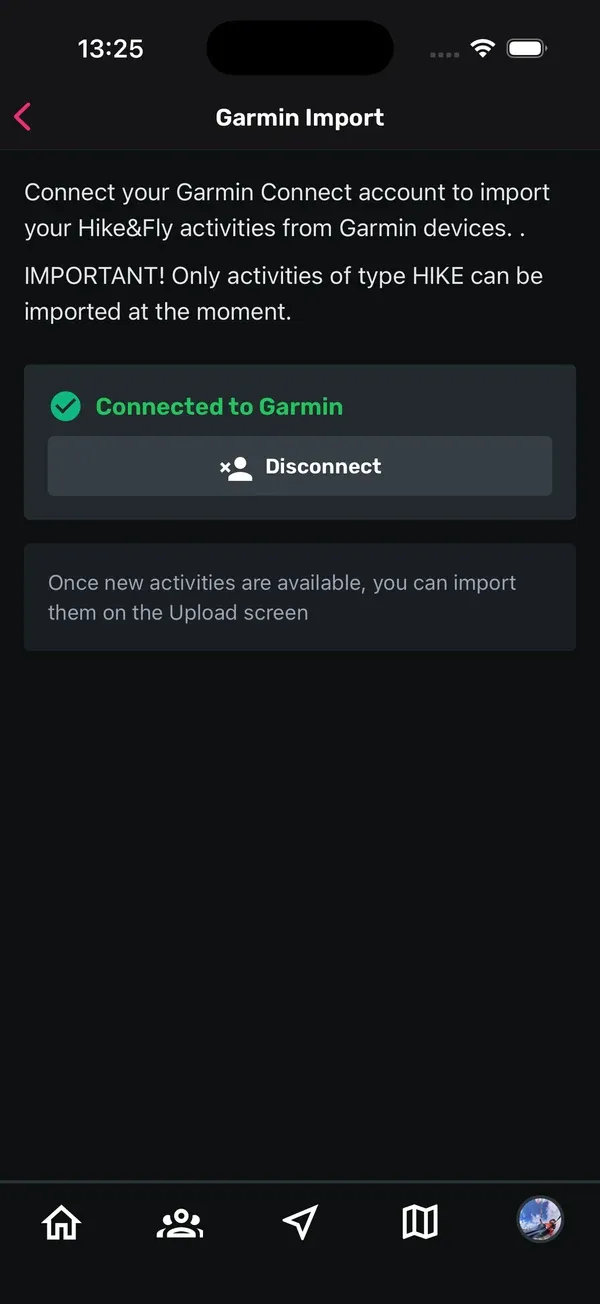
- Back in the app you’ll see Connected to Garmin. If not, tap the refresh button next to it.
Important: right now only activities of type HIKE can be imported. So record your Hike & Fly on the watch as a hike.
Garmin activities are imported by hand. On the upload screen, the Garmin Connect card shows New activities are available for import. Tap Show, then Import for each activity you want. Tap Ignore to remove one from the list. Ignoring can’t be undone.
Step by step with pictures: Hike & Fly import from Garmin Connect.
5. Import from Suunto
- On the upload screen, tap the Suunto logo, or tap Connect next to Suunto in Devices & Connections.
- Tap Connect with Suunto and log in to your Suunto account.
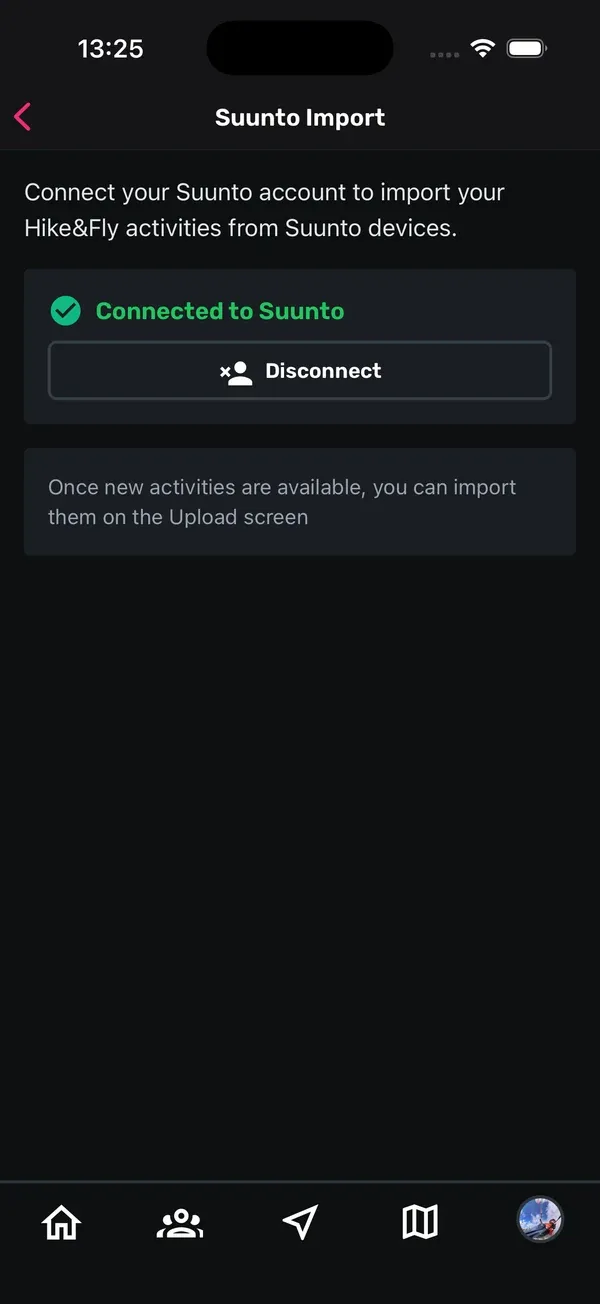
- You’ll see Connected to Suunto.
Just like with Garmin, you import workouts by hand: on the upload screen, tap Show on the Suunto card and then Import.
More in our blog post Hike & Fly import from your Suunto watch.
6. Edit flight details
Wrong glider, boring title, or the flight should really count as XC? You can change that any time, for uploaded, imported and tracked flights alike.
- Open the flight.
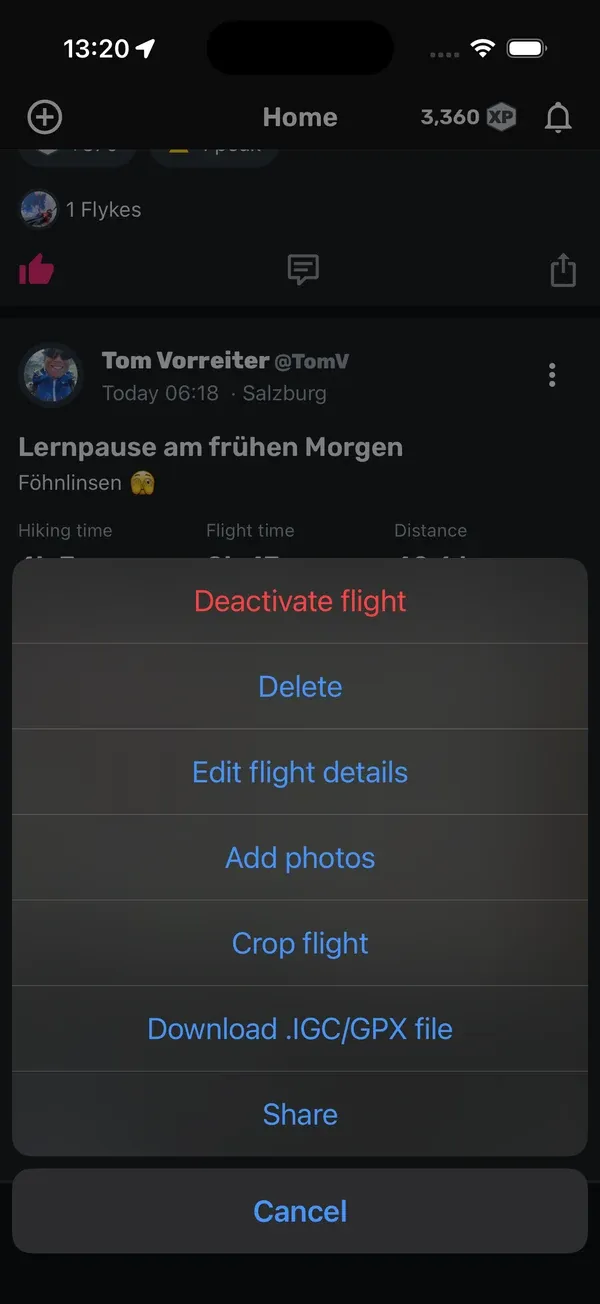
- Tap the three dots at the top right, next to your name, and choose Edit flight details.
- Change Title, description, Flight Type or Glider, add photos, and tap Save.
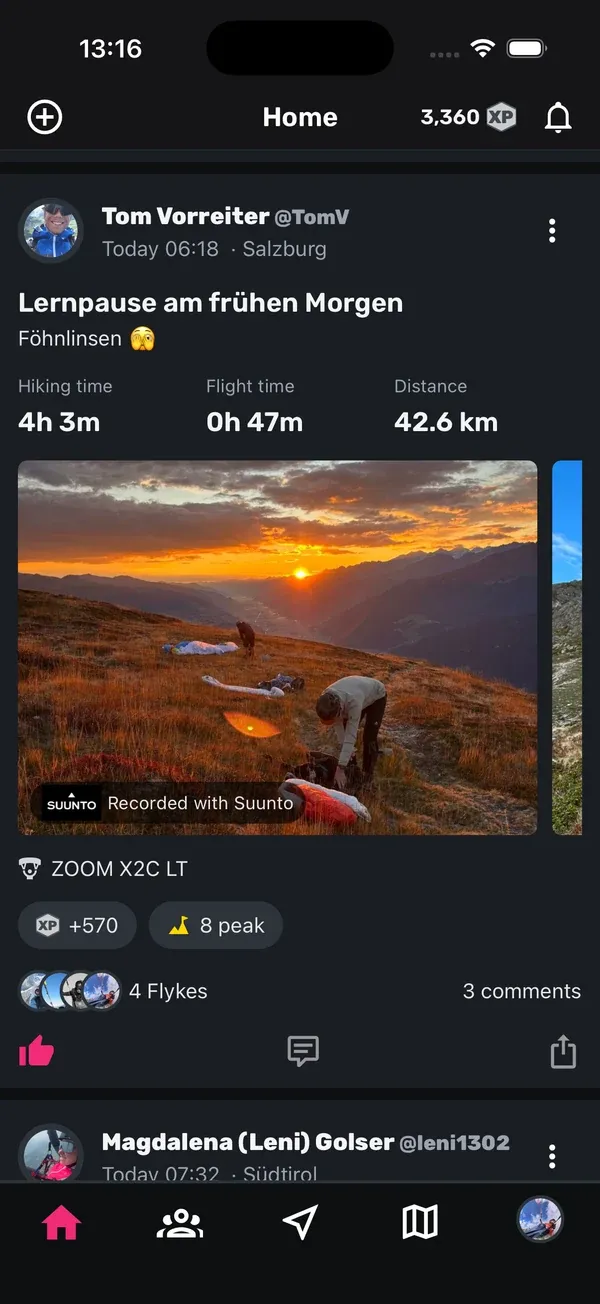
The flight type matters more than it looks: your statistics and goals use it to tell flights, XC, Hike & Fly and hikes apart.
7. Crop a flight
Sometimes the track starts too early or ends too late, for example when you forgot to stop your vario and drove home with it. You can cut that off.
- Open the flight, tap the three dots and choose Crop flight.
- Drag the green Start handle and the red End handle until only the part you want is highlighted on the map.
- Tap Save Changes and confirm.
Good to know: cropping is permanent. The cut-off part of the track is gone and can’t be brought back. If you’re unsure, download the original file first: tap the three dots and choose Download .IGC/GPX file.
Tips
- Tracking and XContest work together. If a flight with the same time and place is already in Sidekik, the XContest sync skips it, so you don’t get it twice.
- Set your default glider. Under Manage your gliders in Settings, tap the star next to a glider. Sidekik then fills it in for new uploads.
- Submit to XContest on the day. Flights you submit later are not synced, so upload those by hand.
- Check the flight type after importing. Especially Hike & Fly from your watch: set it to Hike&Fly so it counts correctly.
Related guides
Still have questions? Write to us at [email protected].